

This garland is easy to whip up and it only takes 1 sheet of construction paper (although if you want to make it longer, just use a few more sheets).
Hang it in your window, above a doorway, in a classroom, etc.
Supplies:

Step One:
Draw a bat template. You'll only need half a bat for this. If you make the half bat about 3" to 3 1/4" wide, you'll be able to fold your paper 3 times and get two full bats. Make it as simple as you can so it's easier to cut out later. Cut out the template and keep it aside.

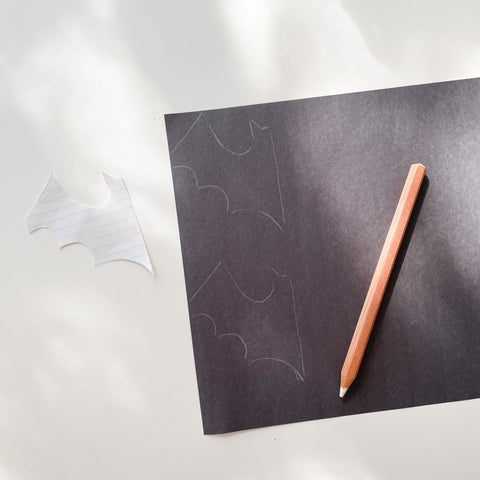
Step Two:
Trace your bat onto a piece of construction paper with the white pencil crayon. You'll want to trace it with the wing touching the outer edge of the paper. I traced two bats (one below the other) so I could maximize the amount I was able to cut out of the construction paper. See image.
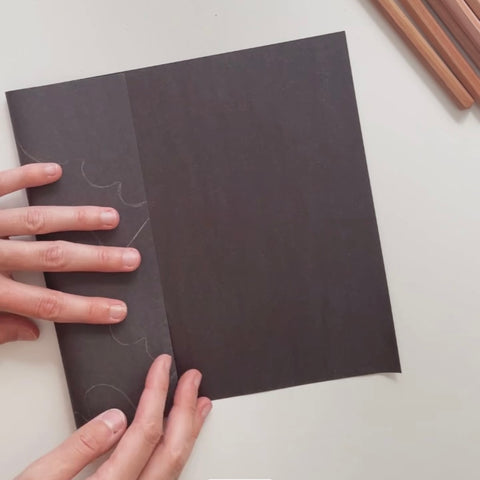
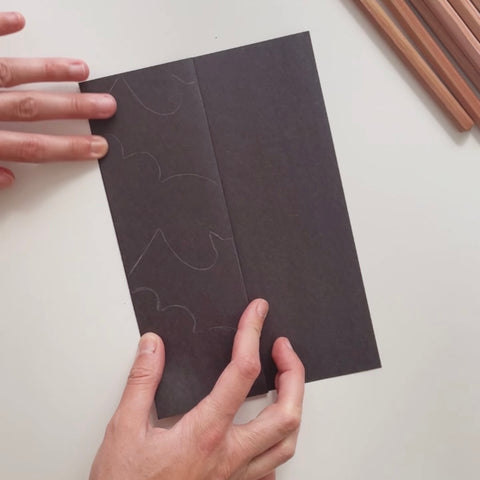
Step Three:
Now it's time to fold the paper. You're going to fold it back and forth accordion-style. Fold the sheet and line up the edge of the bat with the crease of the fold. Flip the paper over and fold it the other way, lining up the crease of your fold with the edge of the bat. Keep repeating this by flipping the paper over and folding until you don't have any paper left to fold.

Step Four:
Keep everything folded up and cut your bat out along the template. If you've traced two rows of bats, you can tape them together. And that's it! Now you can hang it up.


